
How to Perform Quicker Transitions in Triathlon
by Chris Bagg

In 2011, at the iconic Oceanside 70.3, Mirinda Carfrae ran down Heather Jackson with only a few meters to spare before the finish line. “I resolved that day,” HJ says, “to always put in the fastest transitions in my field, so I’d never feel like I lost the race doing something other than swimming, cycling, or running.” To be sure, shaving seconds from your transition time won’t turn you from a middle-pack finisher into an age group contender overnight, but executing quick transitions yields two important results: firstly, your overall time will be faster. Sure, not much faster, but if we’re talking about a Kona slot or an overall place, seconds count. The second (and in this author’s eyes, the more important one) is that a well-executed transition connects you to the race, allowing you to put the previous discipline behind you and then begin focusing on the one you’re about to start.
Of course, we’re making some assumptions, which can be useful to list at the start. Here’s what we’re assuming you’re already doing. If you’re not doing these things, start! We assume you’re:
Using speed laces—that is, laces that are elastic and don’t require you to tie them
Wearing one kit the whole day of racing (if you need more information on how to do that, look here)
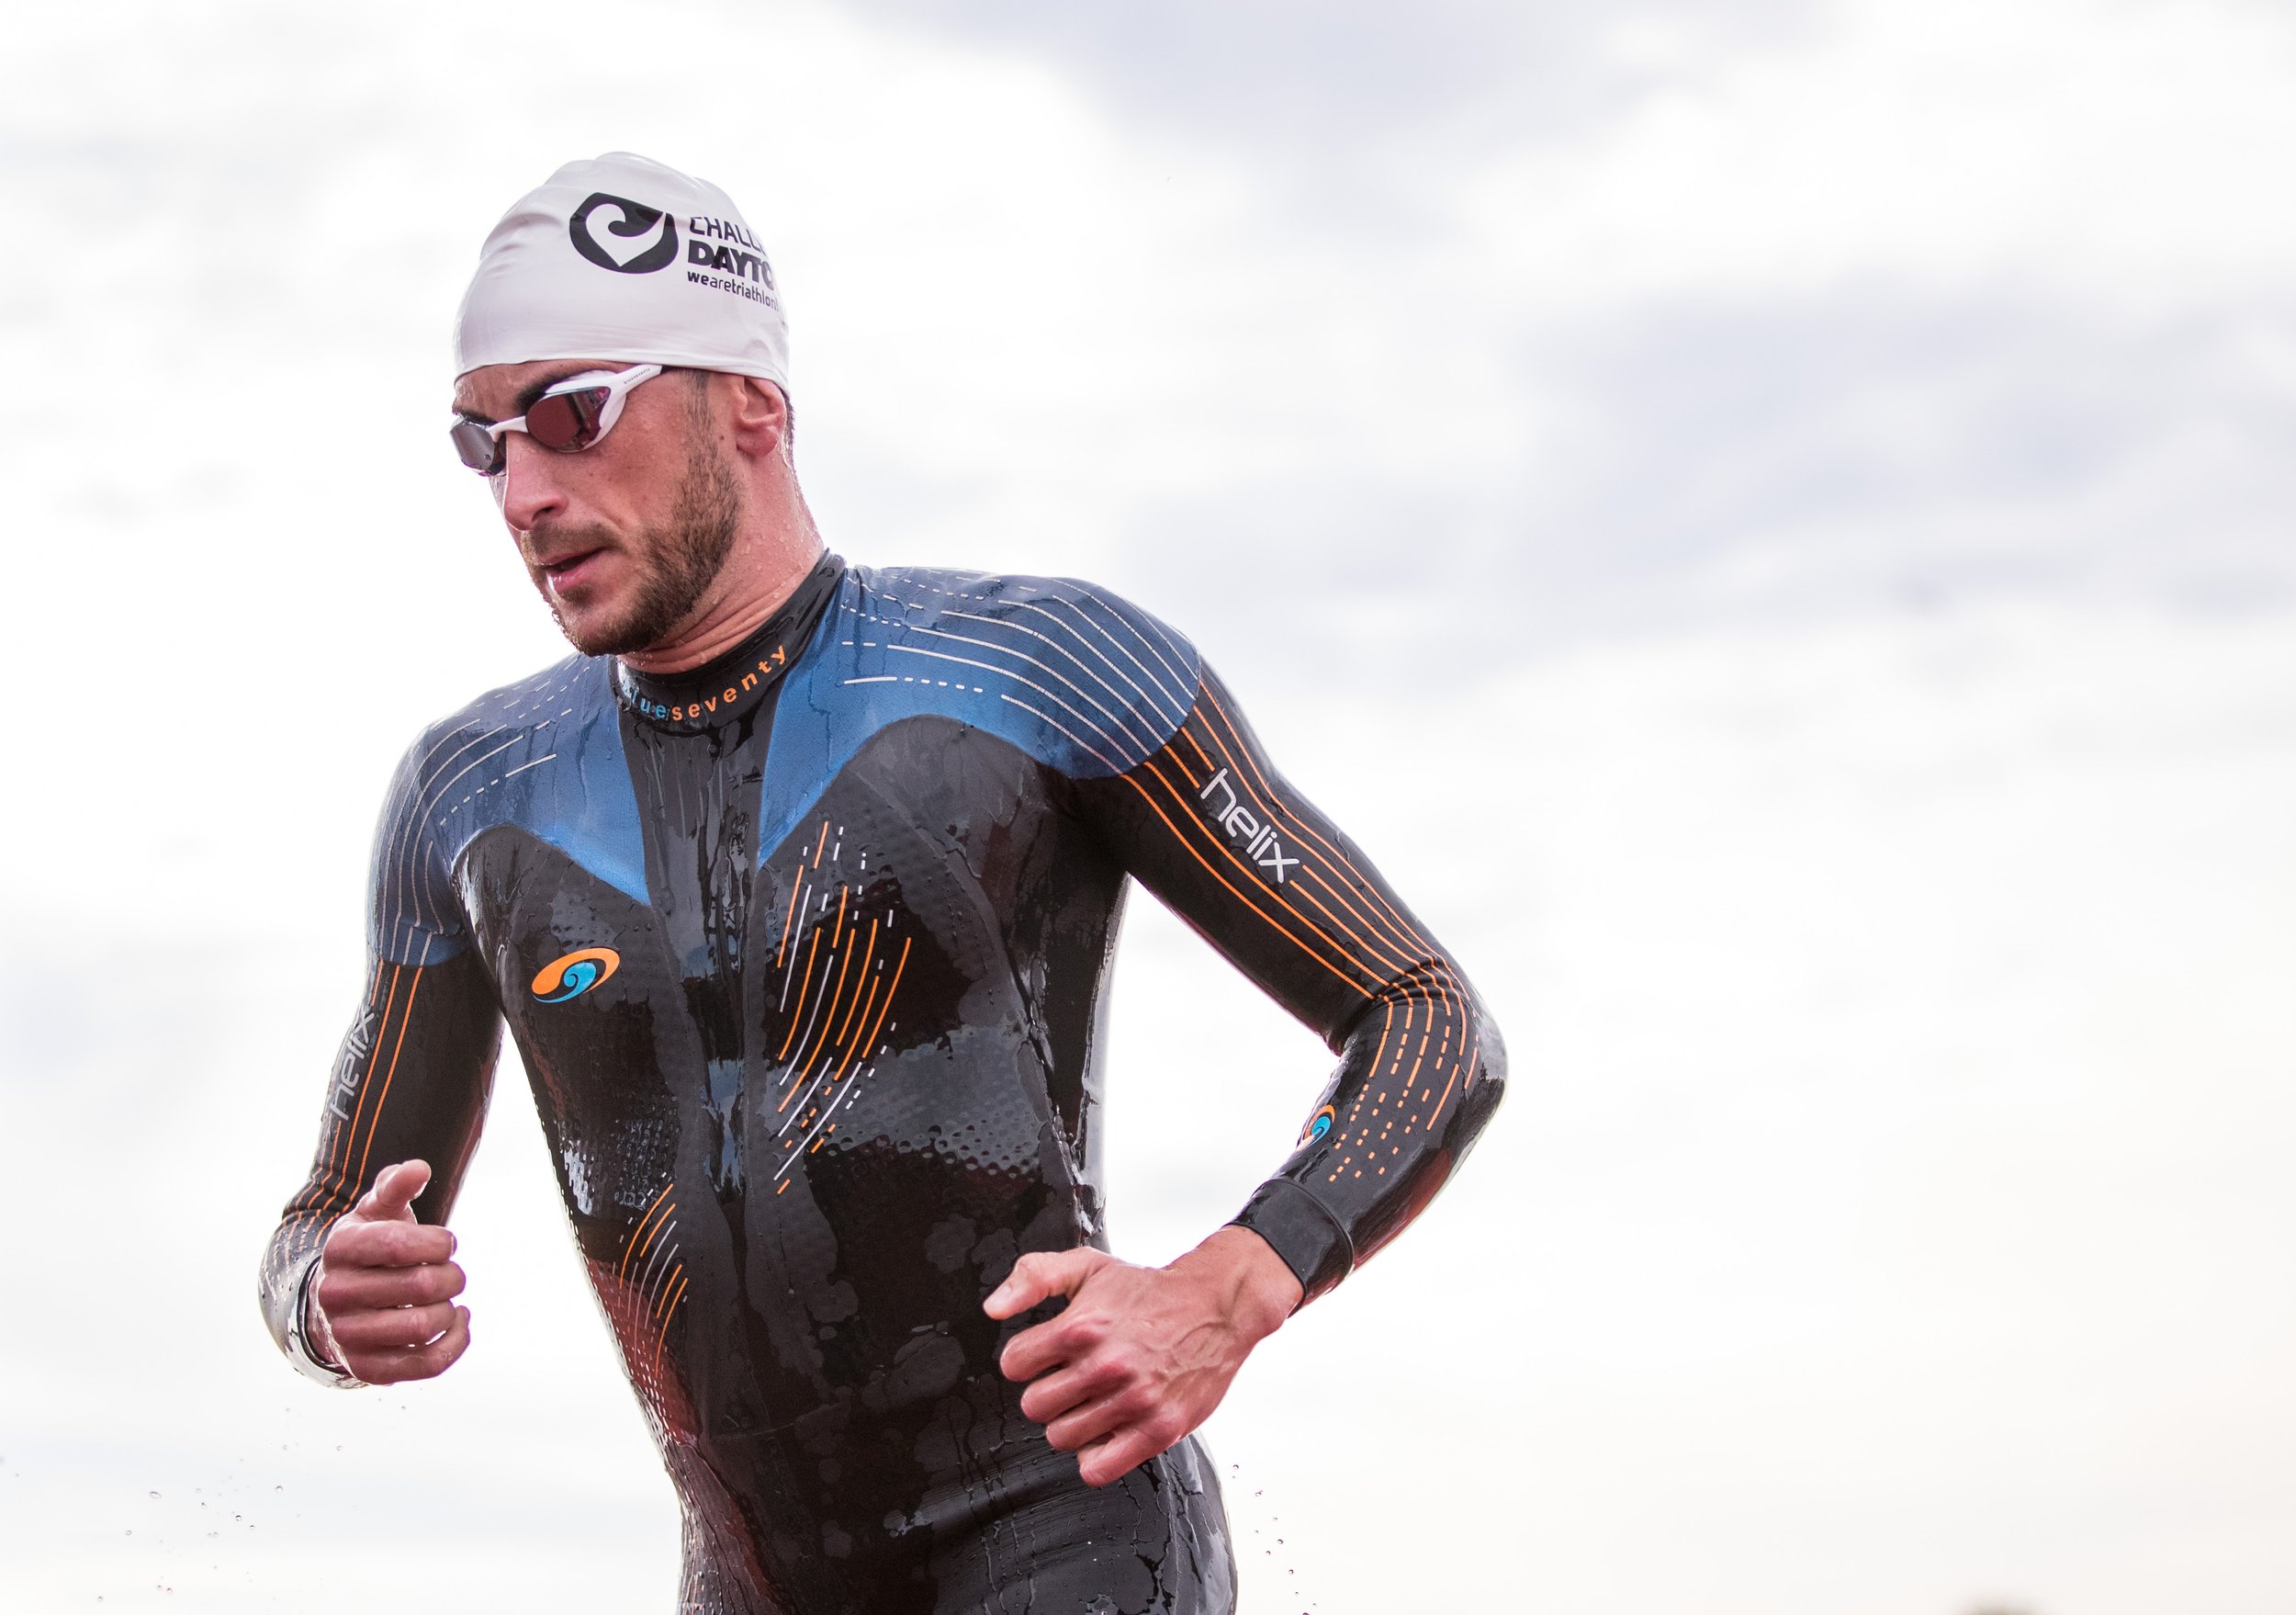
Image courtesy of Tommy Zaferes
So, how can we improve these two smaller legs of every triathlon, referred to hereafter as “T1” and “T2?”
Minimize the Steps
We’ve all seen both extremes: on the super-slick end, there are ITU and Superleague transitions, where almost nothing seems to happen in transition. That seamlessness results from years of practice, but also from the resources extended to those athletes. Every ITU athlete has a nice little bucket waiting at his or her bike, and that certainly helps for dumping a wetsuit (T1) or helmet (T2). The lesson remains, though: keep it simple! On the other extreme, we’ve all seen what appears to be a literal yard sale at athletes’ transition areas: multiple towels, several changes of clothes, a bucket to “wash the sand off,” sunblock, lip balm, shoes, extra shoes, a balloon (yes, a balloon—don’t do that). Triathletes love to be prepared, but sometimes too much preparation simply results in too many steps. Also, you have to remember all of that junk, which adds stress before you even get to the race. Keep your plan simple, which will minimize your gear and fuel needs, and you’ll be able to keep your transition zone simple, something we’ll get to in…
Minimize the Gear
Minimize the gear. OK, what should go at your T1 transition rack? Well, your bike (duh). On your bike should be: your bike computer, turned on before you head down to the water; your helmet, set up in such a way that you can easily slam it on your head and buckle the straps; your helmet’s visor, attached to the helmet (yes, not sunglasses, which are just another thing to remember or forget); your food and fuel, taped to the frame or sitting in your bottle cages; your flat kit, slung under your seat or handlebars; your cycling shoes, ideally already clipped to the pedals. Not comfortable with the pedals clipped to your shoes? PRACTICE. There are two downsides to skipping this step. First, it’s another thing you have to do at your bike, rather than while your bike is already rolling, so it adds time. Second, running across pavement (or grass and mud) in bike shoes with cleats is just unsafe, both for you and your cleats. Is your solution to run with shoes in hand and then stop and put them on at the mount line? See rule #1. And here’s the annoying, finger-wagging rule about practicing this step. Learn how to do this and you’ll just be a better, more complete athlete. Any time you can learn how to do something on your bike, whether that’s slipping into tri shoes on the roll or learning to drink from a water bottle at 35 mph, you become a better athlete, and that’s why you signed up for this in the first place, right? OK, how about T2? Running shoes (duh), socks (if you’re gonna wear socks, which you should plan on if the race is longer than an Olympic—if it’s Olympic or shorter, skip socks), sunglasses, hat, and plastic bag containing your food, salt, body lube, and bib number. Putting the final four ingredients in a small bag allows you to put the number bib on while running, and you can sort your food into pockets on the run. Arriving at T2 should be a simple matter of racking your bike, putting on socks and shoes, then grabbing everything else and putting it on while running.

Relax during transitions
Suggesting you relax in an article about speeding up transitions probably seems counter-intuitive, but let’s take a page from the mountain biking book out there: slow is smooth, and smooth is fast. Doing anything that requires skill and speed (chopping an onion, say) is a matter of practice until the movements become second nature. Practice means doing it slowly and deliberately at first. So when you practice your transitions (you do practice your transitions, right? Right?) do the first few reps very slowly, focusing on being smooth instead. If you keep this up regularly, you’ll see your transitions on race day getting faster and faster. Although it looks like the professionals are working very hard during transition, their minds are probably as smooth as calm lakes. That’s because they’ve done this a million times before, and the repetitive movements are dialed. Do the same thing, reminding yourself slow is smooth, and smooth is fast.
Write a script, then practice
Your T1 transition might look something like this. But if you don’t write it down and then practice it, you’re planning to fail. Make it real!
Exit water, unzip wetsuit
While running to T1, get wetsuit down around hips and remove swim cap and goggles
At bike, high step to get wetsuit to ankles while putting helmet on and buckling it
Pull feet out of wetsuit cuffs (did you lube your wetsuit cuffs?), unrack bike and begin running to bike exit
Wake up bike computer while running to bike out, put on sunglasses if your helmet doesn’t have a visor
Mount bike past mount line, hit start on bike computer
Slip feet into shoes, and snug the straps when you have a moment
Organize your kit, helmet, and get down to business. Bonus? Take your first sip of fluid now

LUBE Everything
Lube everything that can hang you up. Those literally sticky spots are:
The sleeves of your speedsuit, if you roll it down inside your wetsuit or swim skin—put some bodyglide on the insides of the sleeves before you race, so you’re not trying to push wet skin through fabric
The heels of both run shoes and cycling shoes—baby powder or body glide here, so your feet don’t get stuck on the lip of the shoes
The cuffs of your wetsuit (both ankles and wrists)—you probably use bodyglide on your neck to avoid the dreaded wetsuit hickey, but lube up those calves and wrists, too, so the wetsuit comes off like a cornhusk.
As a final note, we’d really urge you to practice your transitions. Making this repetitive action a regular thing in training will really improve your transition, much more than reading any article.
